


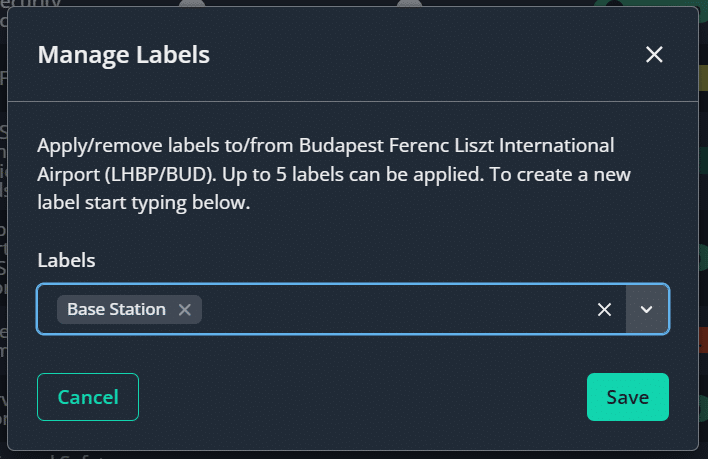
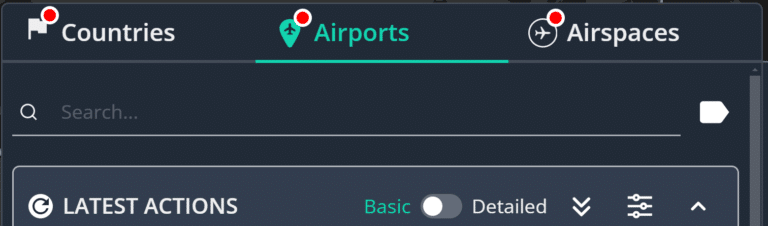
To create a new Label, access the Manage Labels modal by clicking the Labels icon at the top of the location overview panel.

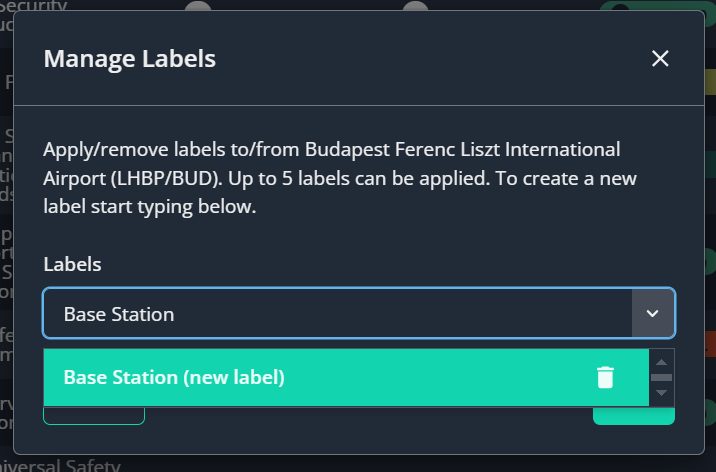
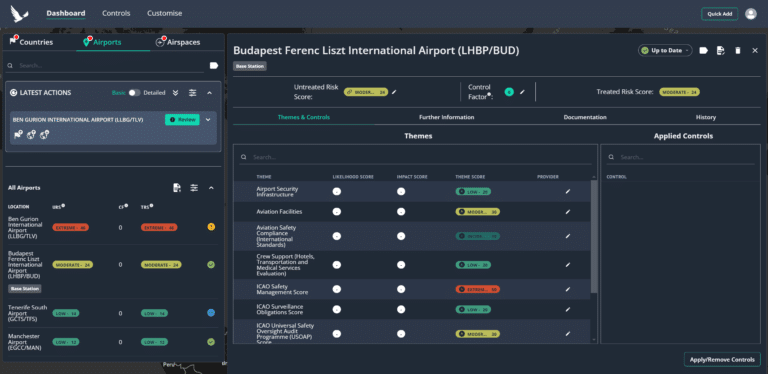
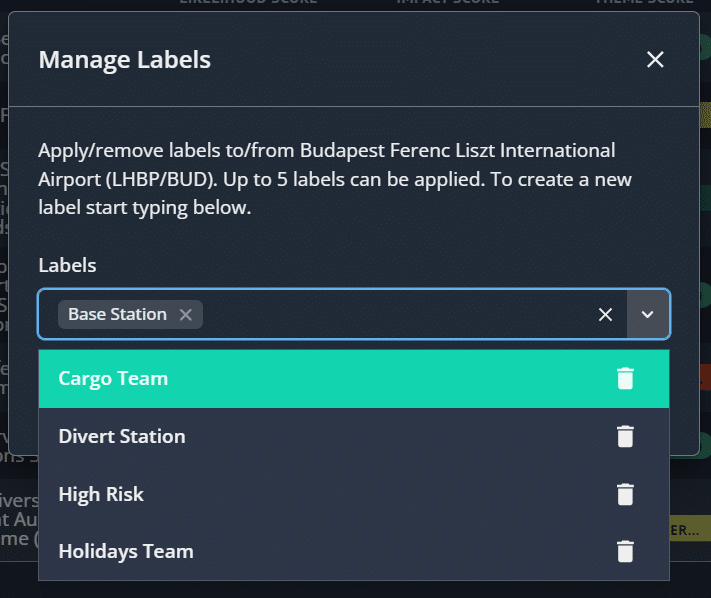
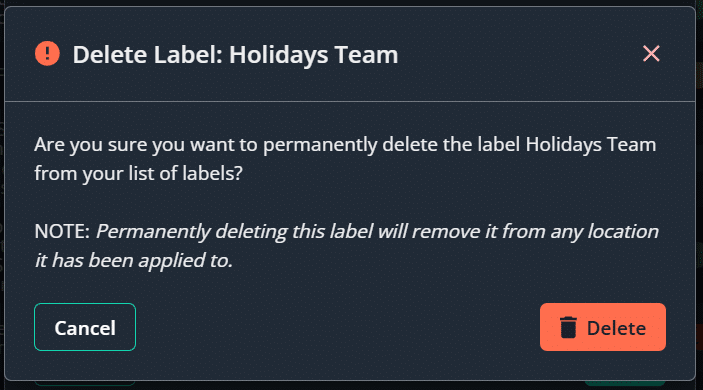
If you wish to Edit or Delete a label, access the Manage Labels modal by clicking the Labels icon at the top of the location overview panel.
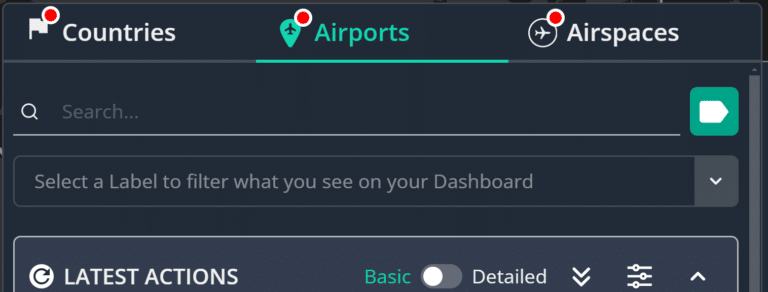
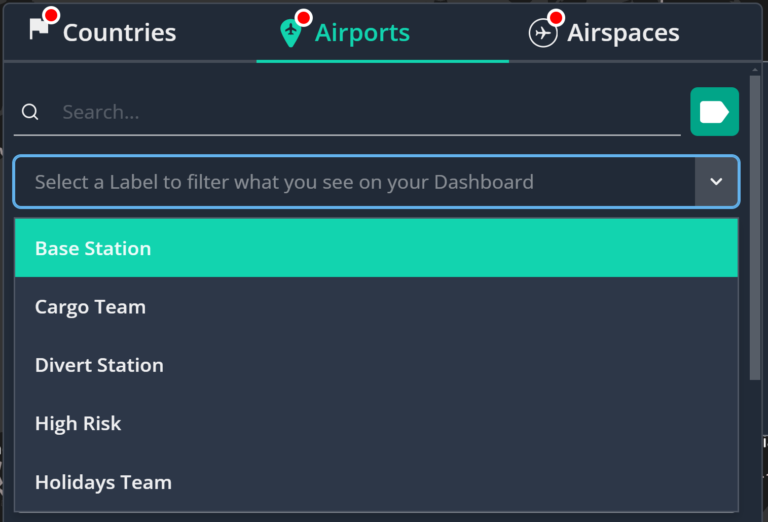
When there are Labels present in this filter, the total number of labels you are filtering by will be highlighted to you on the Labels filter icon.