Risk Manager has been designed to be customisable so that it fits within your organisations existing way of working.
Part of that customisation aspect is the ability to tailor the Location Summary Reports to fit different use cases through the creation and configuration of custom Report Templates. This customisation also includes adding your own report elements (Custom Elements) that can be configured to according to your organisational needs and then populated with your own information including images.
Custom Location Summary Report Templates
By default, Osprey provide you with a standard Location Summary Reports template for each location type that can be used to generate Location Summary Reports that include all sections out of the box.
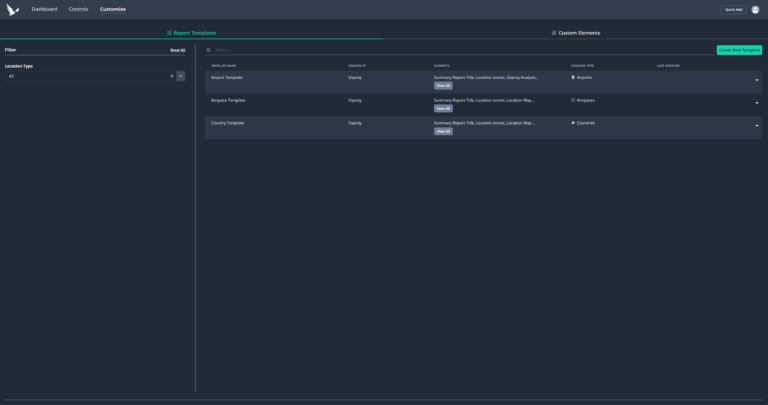
To create your own custom Location Summary Report templates, you will need to access the ‘Customise’ page via the link in the navigation menu.
The ’Customise’ page is made up of 2 sections:
• Report Templates
• Custom Elements
Custom Elements are additional information fields that will display in the ‘Further Information’ tab of the overview panel. You also have the option to include these within your custom Report Templates.
For further information about Custom Elements, please see the Custom Elements section of this user guide.
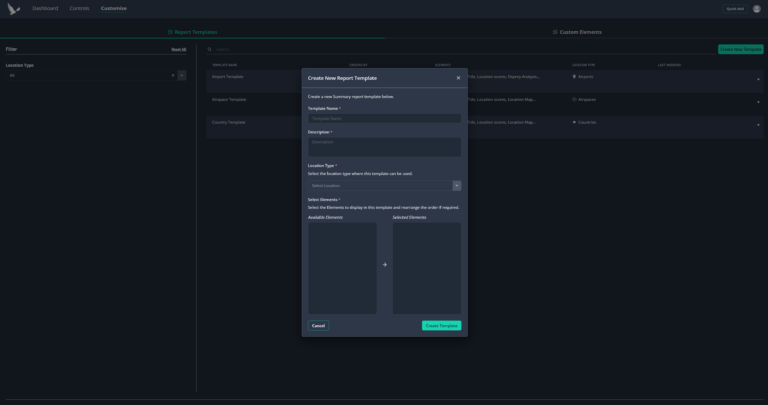
Within the Report Templates tab, to create a template click the ‘Create New Template’ button in the top right.
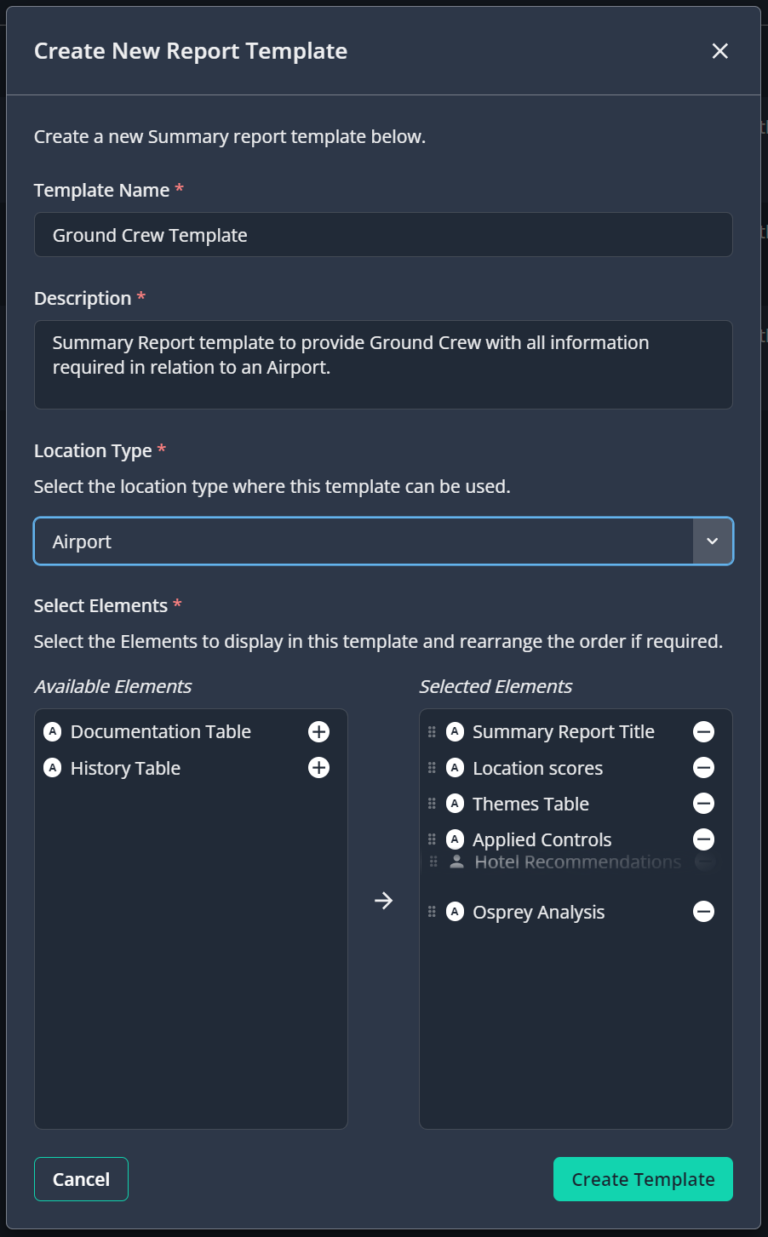
This will open a modal where you can configure your custom Report Template.
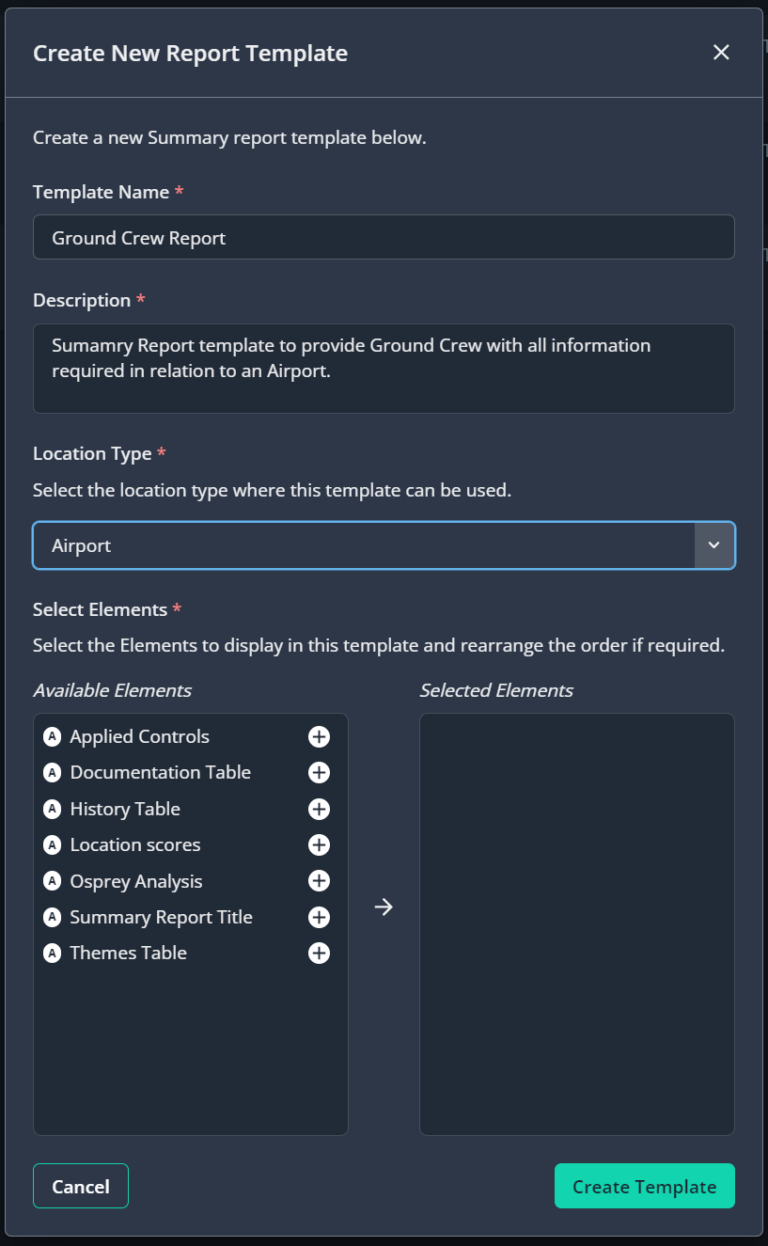
When the ‘location type’ is selected a list of available report elements will display in the left-hand list.
standard element icon
Standard report elements will display with an ‘A’ icon to indicate they have been automatically supplied by Osprey.
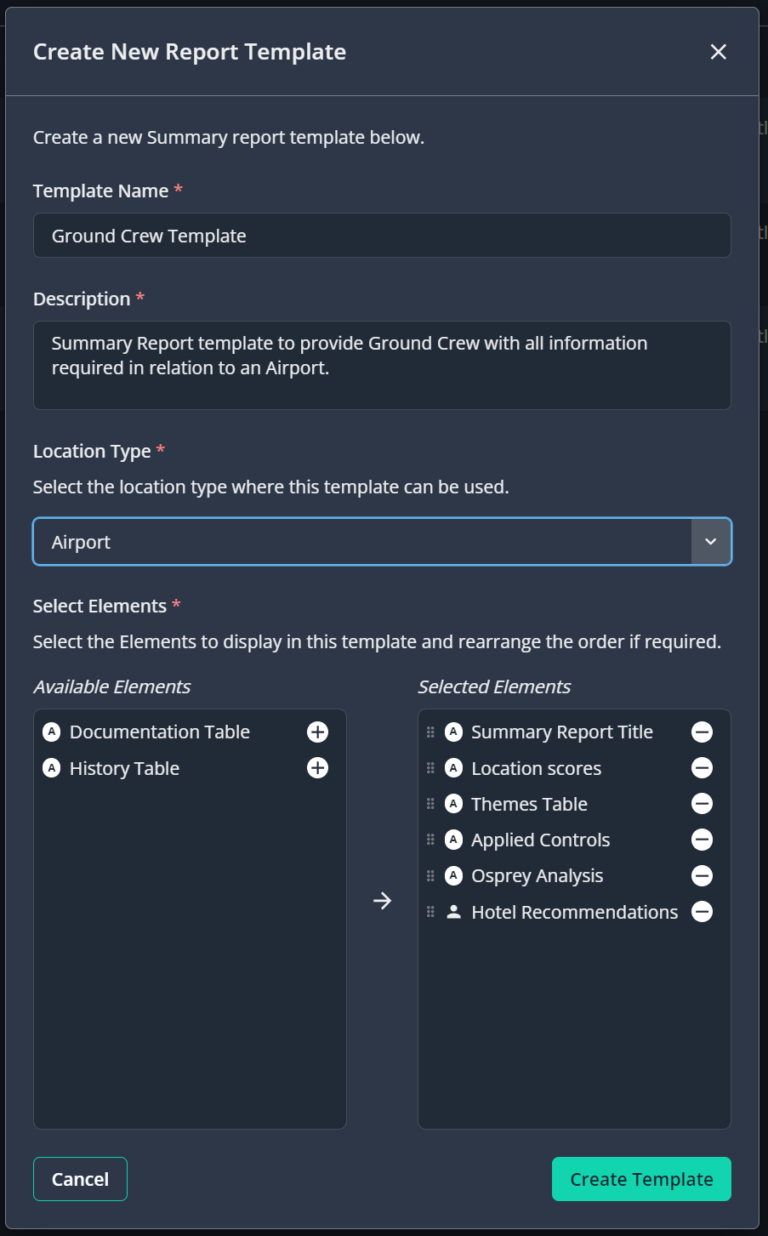
user created icon
Any Custom Elements will display with a ‘user’ icon to indicate they have been created by one of the users within your account.
Elements can be added to the report template by clicking the ‘+’ icon alongside it, and alternatively be removed from the Selected Elements list by clicking the ‘-‘ icon.
The order the elements display in the Location Summary Report can be changed by clicking and dragging the position icon alongside a Selected Element up or down.
position icon
When you are happy with the configuration of your template, click the ‘Create Template’ button.
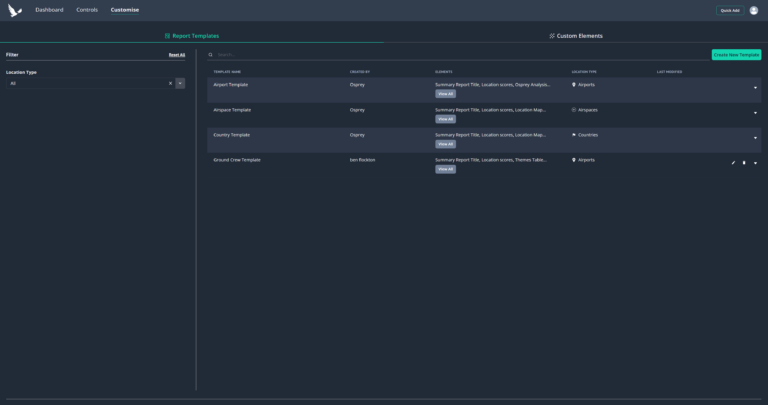
The Report Templates table will refresh, and your newly created template will display.
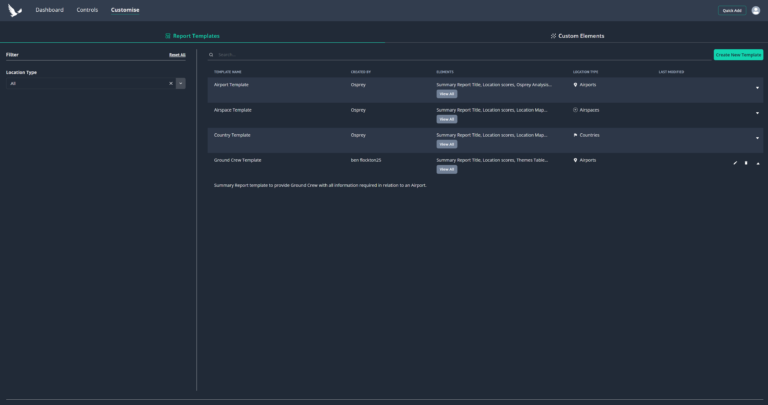
When viewing the table of Report templates the description can be viewed by expanding the table row by clicking the expand icon on the right-hand side.
Report Templates can be deleted or edited by clicking the relevant icon in the right column on the far right of the table.
Please note: the default Osprey supplied templates cannot be edited or deleted, hence no icons display against these templates in the table.
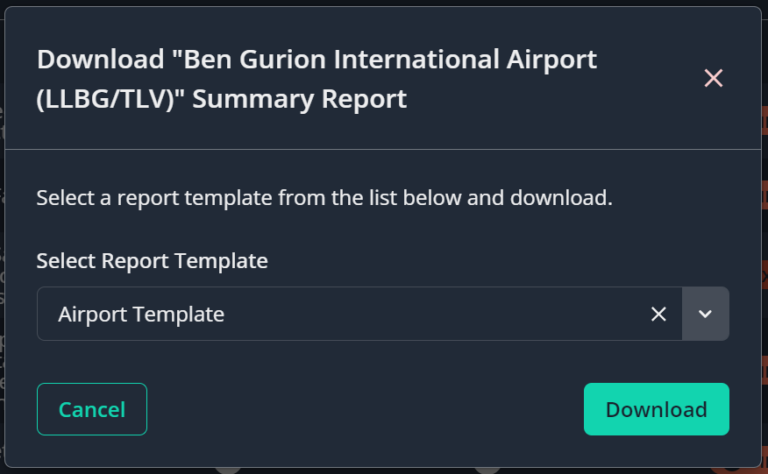
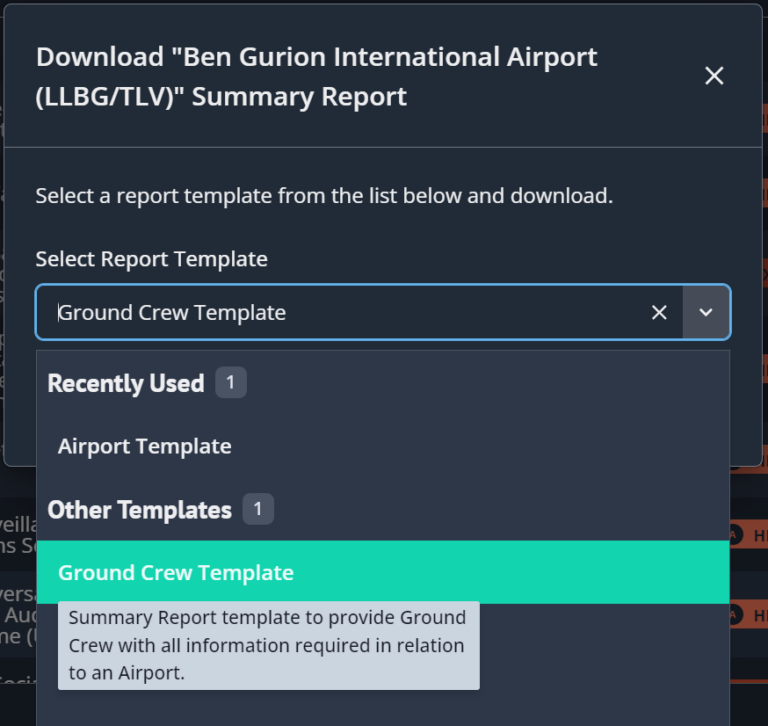
To download a Location Summary Report, when viewing a locations overview, click the download icon in the top right of the overview panel.
A modal to allow you to select which template to use – the last template you used to download a report will be pre-selected by default.
When the list is expanded, hovering your mouse cursor over the name of a template will display the description.
Once you have selected your template clicking the ‘Download’ button will generate the report. The report template dropdown remembers which reports you have recently used so that:
• The last template you used to generate a report will be automatically selected for you by default.
• The last 3 templates you used to generate a report will be at the top of the dropdown list for ease of access.
Custom Elements are additional sections that you can include in location overviews to allow you and other users of your account to add and view additional analysis/information relating to your locations.
These Custom Elements can also be included in your Report Templates so that any information input into them via a locations overview can be shared with recipients of the report.
For further information about Custom Report Templates, please see the Custom Location Summary Report Templates section of this user guide.
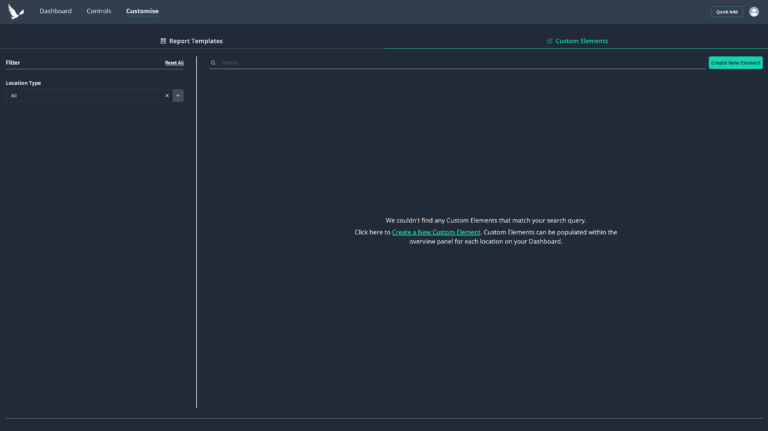
Custom Elements need to be created via the ‘Customise’ page’, you can access the ‘Customise’ page via the link in the navigation menu.
The ’Customise’ page is made up of 2 sections:
• Report Templates
• Custom Elements
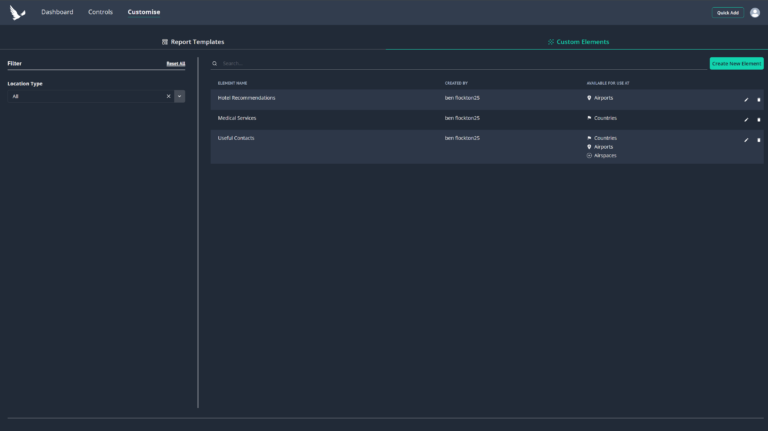
By default, there are no Custom Elements present in the platform. To create a Custom Element, click the ‘Create New Element’ button into top right of the ‘Custom Elements’ tab.
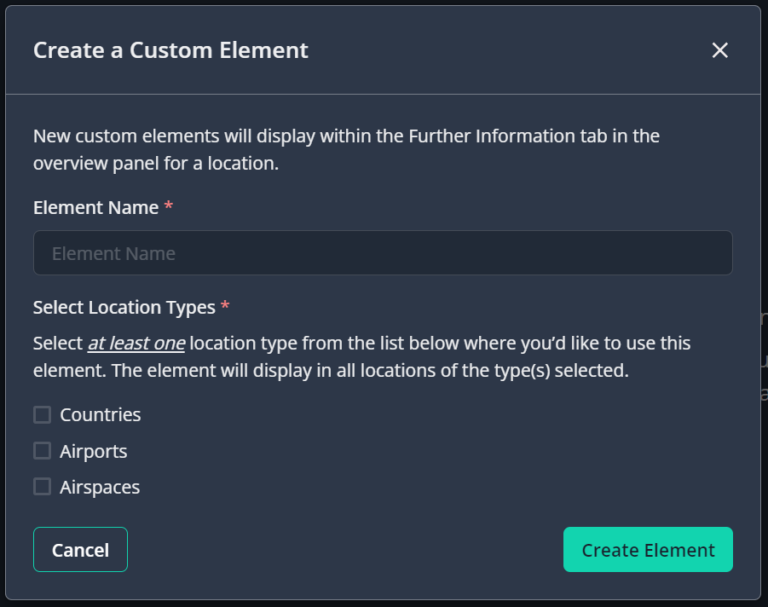
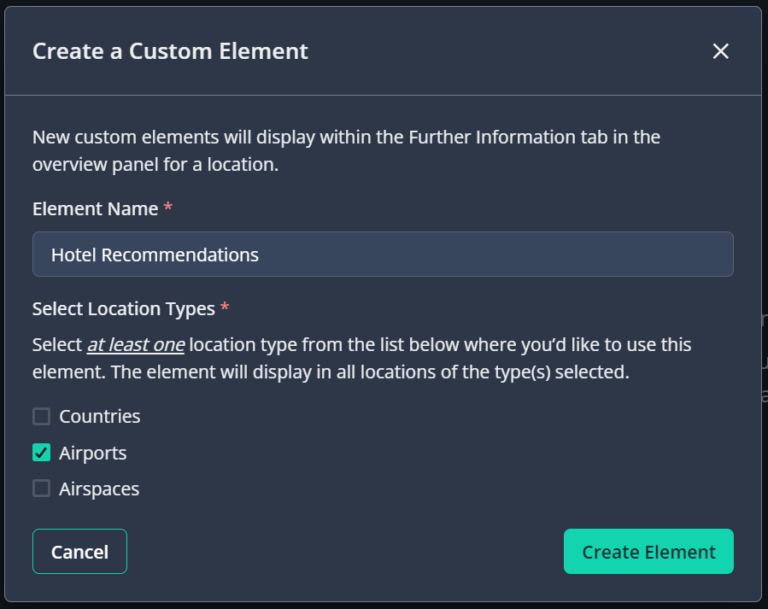
A modal will display overlaying the page where you can specify the following:
• Element Name – this is the name that will display as the title of the section in the ‘Further Information’ tab of a locations overview as well as the heading for the element in your report templates.
• Location Types – this is the location types for which the Custom Element will be displayed.
When you have configured your Custom Element, click the ‘Create Element’ button.
The Custom Elements table will refresh, and your element will display in the table.
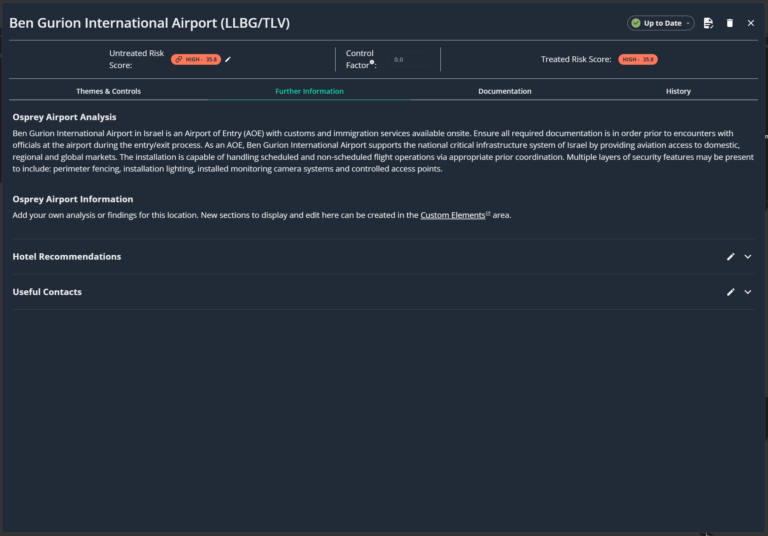
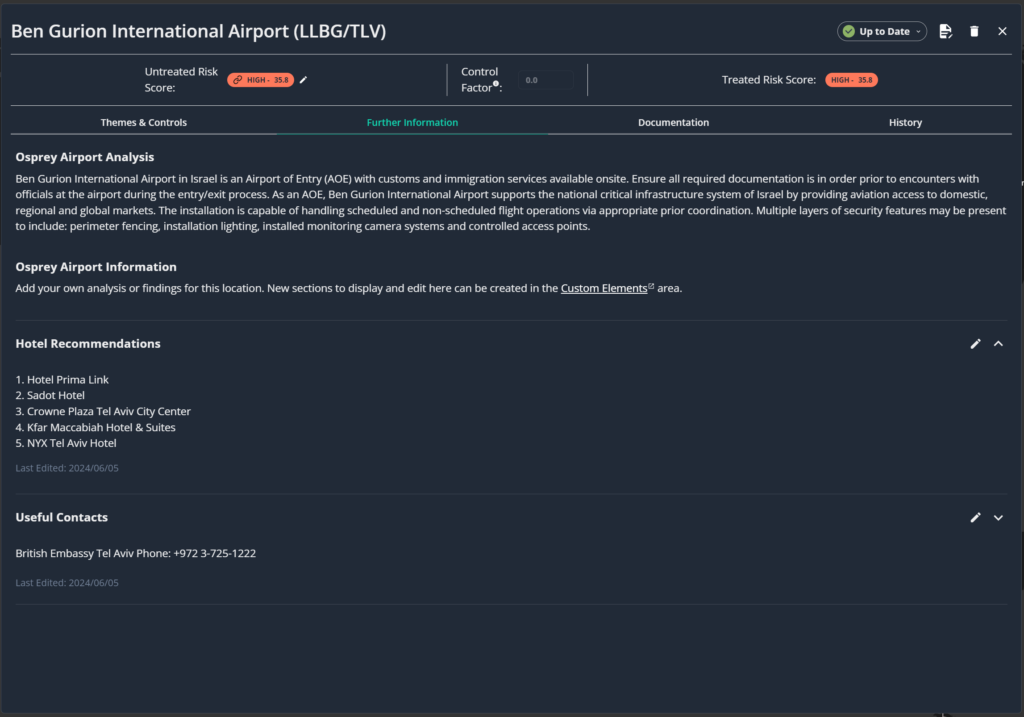
When viewing a locations overview, Custom Elements will display in the ‘Further Information’ tab.
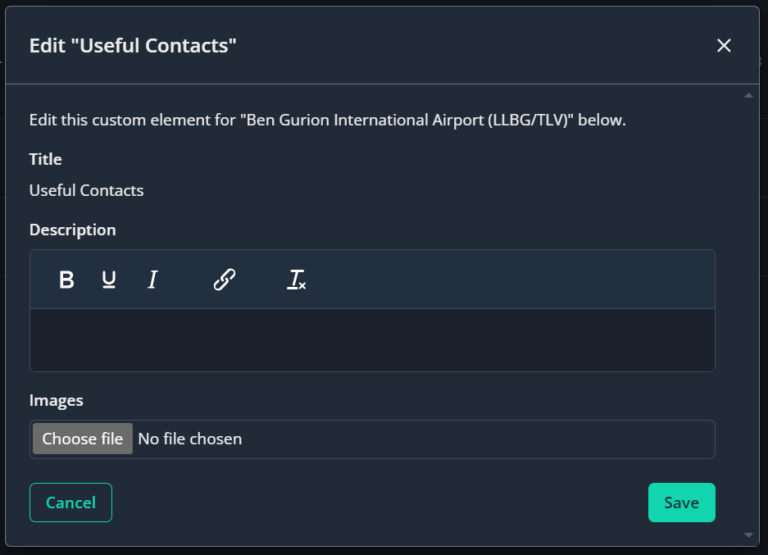
The contents of Custom Elements can be edited by clicking the edit icon. When this is clicked, a modal will display overlaying the page.
edit icon
Any content previously input will be present within the edit form, you can choose to add to it or replace it. If no content has been previously added, then you will be presented with an empty form.
The following formatting options are available to make the content of your Custom Elements more easily readable:
• Bold
• Underline
• Italicise
• Hyperlink
• Clear all formatting
You also have the option to upload images to custom elements by clicking the ‘Choose file’ button. When you have added content click the ‘Save’ button in the modal.
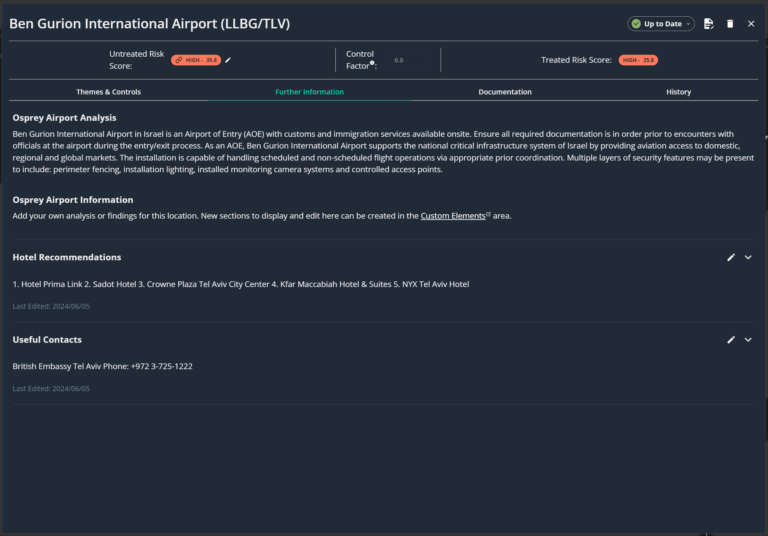
When you return to the ‘Further Information tab your Custom Elements will look like this:
By default, each Custom Element is ‘collapsed’ with only partial information displayed, to view this in full click the expand icon on the right-hand side.
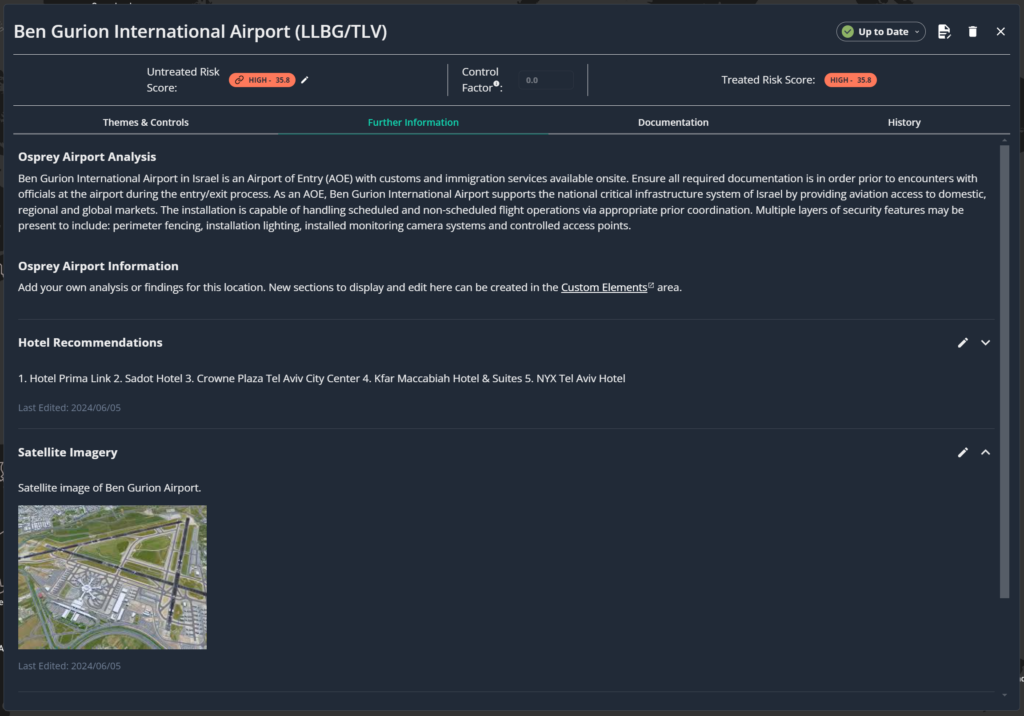
When a Custom Element is expanded the full information present will be displayed along with any applied formatting, including hyperlinks which can be clicked to access the linked webpage/document.
For Custom Elements that have had an image uploaded, these will also display on expansion.
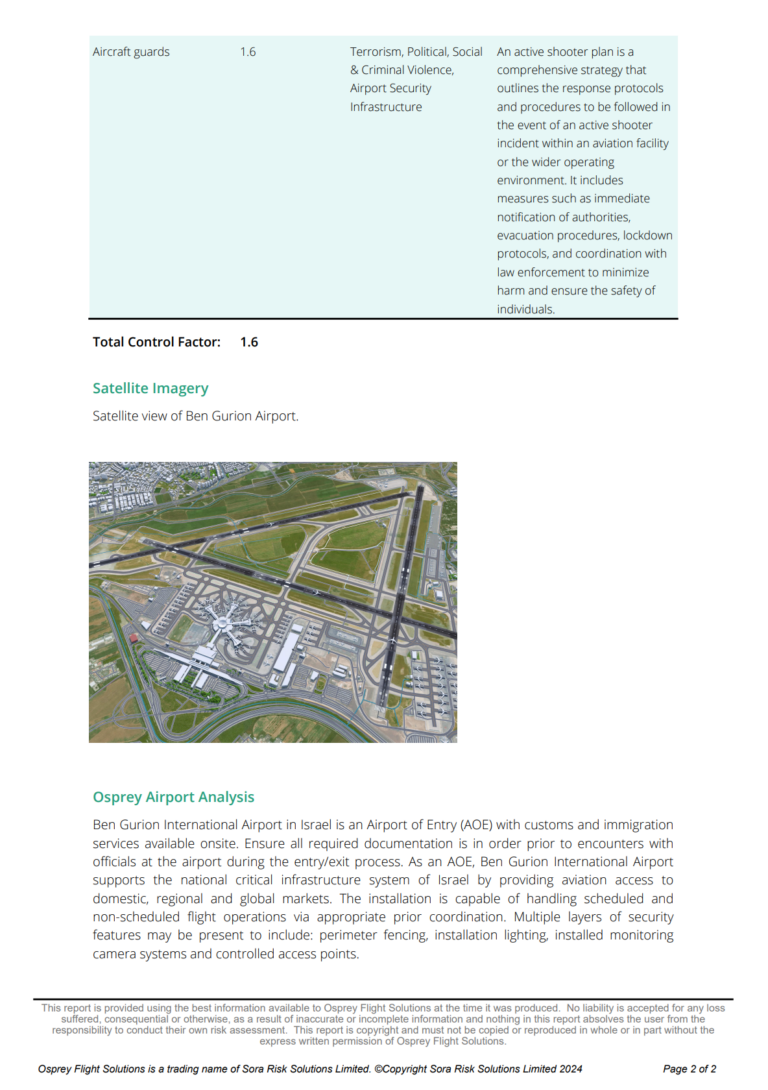
As detailed in the Custom Location Summary Report Templates section of this user guide, if any of the Custom Elements are included in a report template, when the report is generated, if a Custom Element has information or images present then it will be present in the generated report.
Custom Elements can be deleted and edited in the Custom Elements table of the ‘Customise’ page by clicking the relevant icon in the table row.